前言
使用 Django 我们只需要做一些配置,就可以实现简单的后台管理系统,下面我们以新闻系统为例子来搭建后台。
创建项目
切换到工作空间,执行以下命令:
django-admin.py startproject itstyle
# 进入 itstyle 文件夹
cd itstyle
# 创建 news App
manage.py startapp news
项目结构:
│  manage.py
├─news
│  │  admin.py
│  │  apps.py
│  │  models.py
│  │  tests.py
│  │  views.py
│  │  __init__.py
│  │
│  ├─migrations
│  │  │  __init__.py
│  │  │
└─itstyle
    │  settings.py
    │  urls.py
    │  wsgi.py
    │  __init__.py
配置后台
修改 news 文件夹中的 models.py
# coding:utf-8
from django.db import models


class News(models.Model):
    title = models.CharField(u'标题', max_length=256)
    content = models.TextField(u'内容')

    create_time = models.DateTimeField(u'发布时间', auto_now_add=True, editable = True)
    update_time = models.DateTimeField(u'更新时间',auto_now=True, null=True)
把 news 加入到settings.py中的INSTALLED_APPS中
INSTALLED_APPS = (
    'django.contrib.admin',
    'django.contrib.auth',
    'django.contrib.contenttypes',
    'django.contrib.sessions',
    'django.contrib.messages',
    'django.contrib.staticfiles',
    'news',
)
把 settings.py中 DATABASES 修改数据源为MySql
DATABASES = {
    'default': {
        'ENGINE': 'django.db.backends.mysql',
        'NAME': 'itstyle',
        'USER': 'root',
        'PASSWORD': '123456',
        'HOST': '127.0.0.1',
        'POST': '3306',
    }
}
同步所有的数据表
# 进入包含有 manage.py 的文件夹
manage.py makemigrations
manage.py migrate
创建管理员账号
manage.py createsuperuser操作如下
E:\python3\Day10\itstyle>manage.py createsuperuser
Username (leave blank to use 'zzp'): admin
Email address: 345849402@qq.com
Password:
Password (again):
This password is too short. It must contain at least 8 characters.
This password is too common.
Bypass password validation and create user anyway? [y/N]: y
Superuser created successfully.
修改 admin.py
进入 news 文件夹,修改 admin.py 文件
from django.contrib import admin
from .models import News


admin.site.register(News)
最后,启动服务
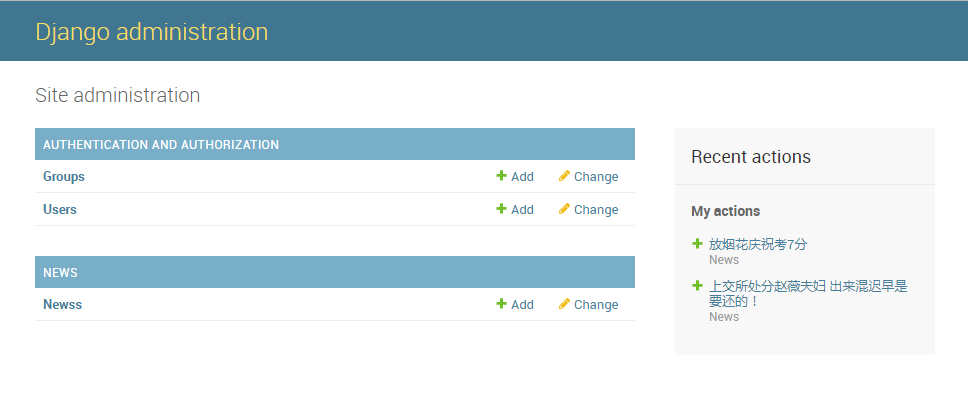
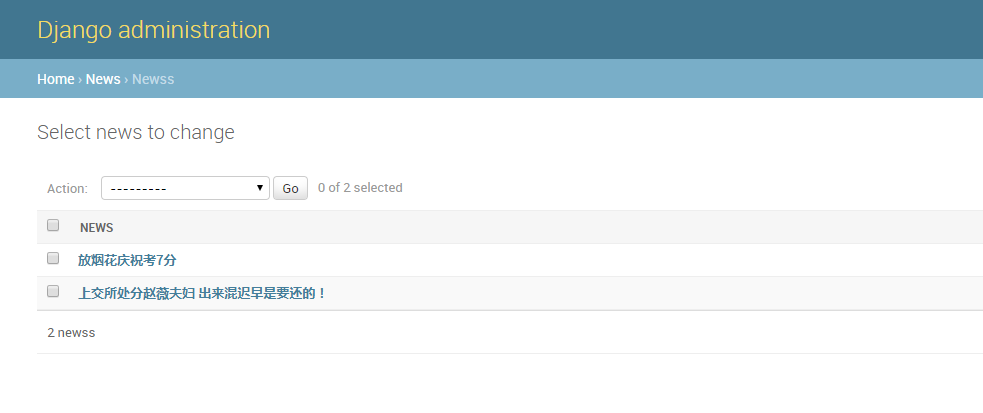
manage.py runserver访问 http://localhost:8000/admin/ 输入设定的帐号和密码,我们添加两篇新闻。


小结
总的来说 Django 作为简单的后台CURD管理还是非常方便的,虽然界面简陋的一点,但是对于要求不高的站点还是挺不错的。

